代码地址
https://github.com/uglide/RedisDesktopManager构建
完成官方构建步骤
- Install Visual Studio 2017 Community Edition.
- Install Qt 5.13.
- Go to
3rdparty/qredisclient/3rdparty/hiredisand apply the patch to fix compilation on Windows:git apply ../hiredis-win.patch - Go to the
3rdparty/folder and install zlib withnuget:nuget install zlib-msvc14-x64 -Version 1.2.11.7795 - Install Python 3.7 amd64 to
C:\Python37-x64. - Install Python requirements
pip3 install -r src/py/requirements.txt. - Open
./src/rdm.proin Qt Creator. Choose theDesktop Qt 5.13.x MSVC2017 64bit > Releasebuild profile. - Run build. (Just hit
Ctrl-B)
打包发布
设置环境变量
cd C:\Qt\5.13.2\msvc2017_64

C:\Qt\5.13.2\msvc2017_64\bin>qtenv2.bat


cd C:\Program Files (x86)\Microsoft Visual Studio\2017\Community\VC\Auxiliary\Build

C:\Program Files (x86)\Microsoft Visual Studio\2017\Community\VC\Auxiliary\Build>vcvarsall.bat amd64
创建发布目录
mkdir c:\deploy构建可执行文件
选择 release ,构建出 rdm.exe
在rdm.pro 中如果写入中文信息,需将rdm.pro 改为ANSI编码保存,否则中文乱码
打包发布
C:\Qt\5.13.2\msvc2017_64\bin>windeployqt.exe --dir C:\deploy --compiler-runtime --release --qmldir C:\Users\Administrator\rdm\src\qml c:\Users\Administrator\rdm\bin\windows\release\rdm.exe其中qmldir 是应用程序 rdm 的qml目录
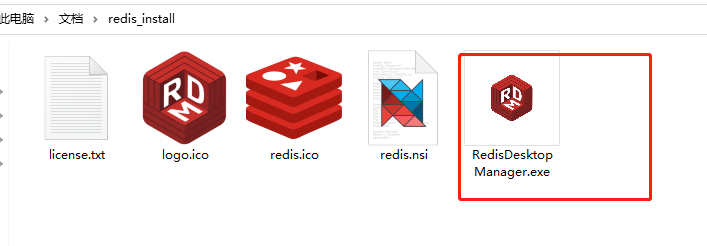
复制 rdm.exe 到 c:\deploy
复制 C:\Python37-x64 下的python37.dll 和 Lib 复制到 c:\deploy
测试
制作安装包
下载NSIS运行时和NSIS脚本编辑器
NSIS 运行时下载地址
https://nsis.sourceforge.io/Download
NSIS 脚本编辑器(nisedit2.0.3.exe)地址
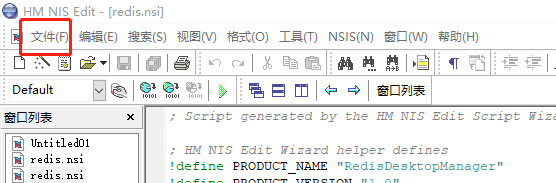
用向导生成脚本
文件-》新建脚本:向导
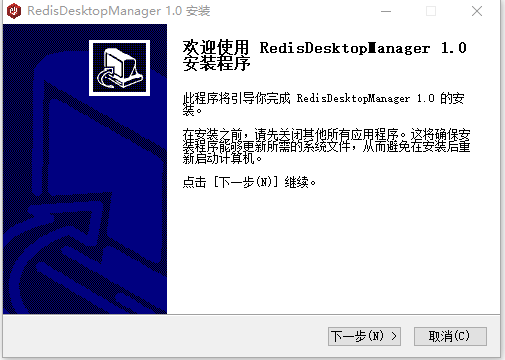
运行脚本,构建出安装程序
NSIS-》编译脚本
安装测试
本博客所有文章除特别声明外,均采用 CC BY-SA 3.0协议 。转载请注明出处!